Aug 6, 2019 | Uncategorized
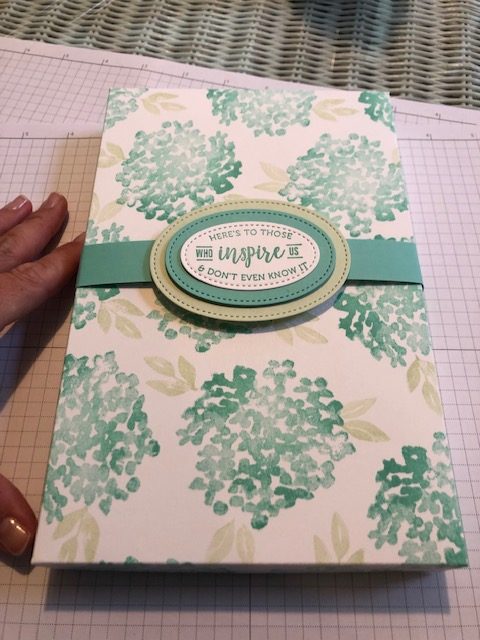
Giving hand stamped note paper to a friend, co-worker, or teacher is a wonderful idea but packaging it in a beautifully handmade gift box is even better! Show people how much they mean to you by creating this total package – and it’s quick and easy to do! Now that you’ve already created the paper, here is how to create the box! (If you haven’t yet – check out my post about handmade stationery.)
Ingredients:
- 8 1/2 x 11 inch piece of Whisper White cardstock
- 8 1/2 x 11 inch piece of Coastal Cabana cardstock
- Beautiful Friendship stamp set
- Part of my Story stamp set
- Tear & Tape adhesive
- Coastal Cabana stamp pad
- Soft Sea Foam stamp pad
-
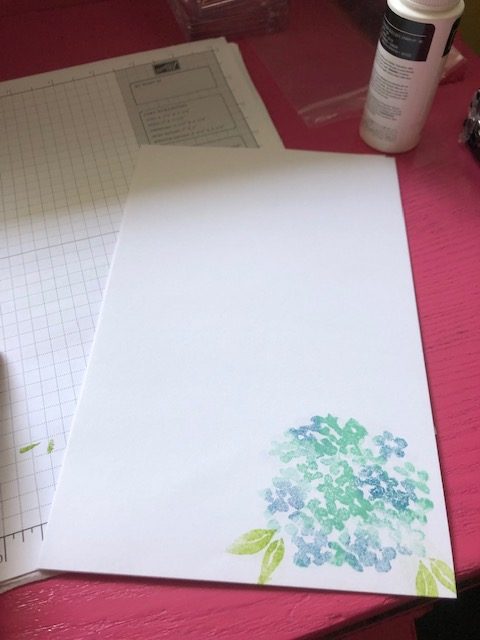
Stamp the same image you used on your note paper or a coordinating image on a piece of 8 1/2 x 11 inch Whisper White cardstock. For this project I use the hydrangea image from the Beautiful Friendship stamp set. This image is inked in Coastal Cabana. The leaf image was inked in Soft Sea Foam. Repeatedly randomly stamp the hydrangea in groups of three spaced slightly apart. Add in the Soft Sea Foam leaf image.
-
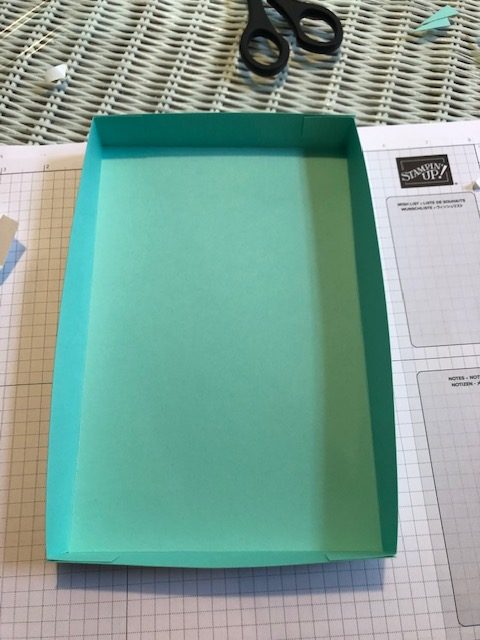
Cut the Whisper White cardstock to 10 3/4 inches x 7 3/4 inches.
Save the 3/4 inch strip that was cut off. You will use this later for the belly band.
Score the large Whisper White cardstock at 1 inch along each side.
-
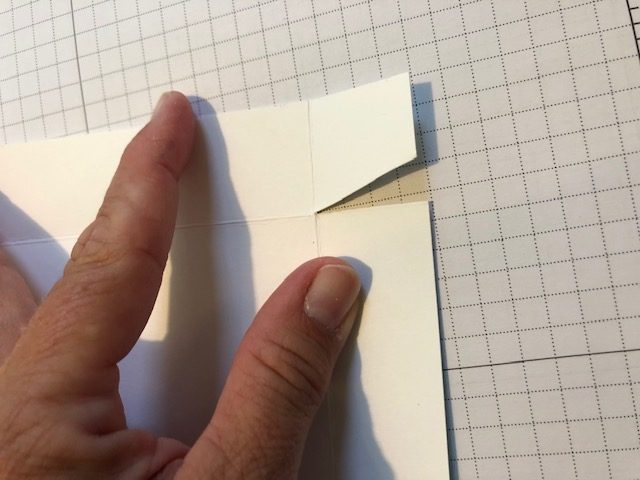
Along the 7 3/4 inch side, cut the along the one inch score line up to the perpendicular score line on each end.
Cut a slight triangle out of the small 1 inch square flap so that when it is folded it will not stick out.
-
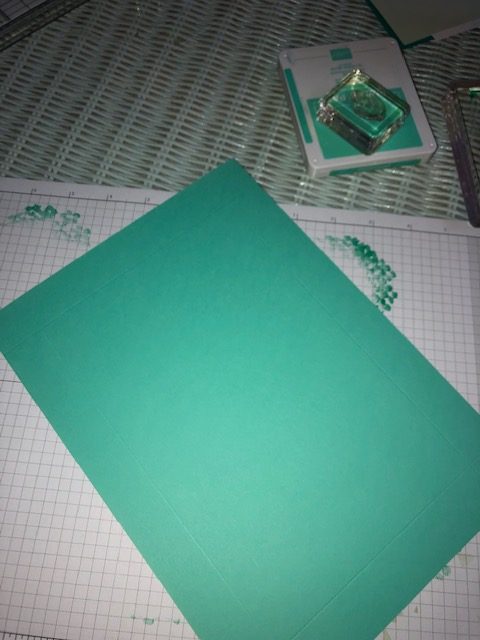
Choose a coordinating color of cardstock. For this project I chose a Coastal Cabana sheet of 8 1/2 x 11 inch piece of cardstock. Cut to 7 3/4 inches. Save the same piece of Coastal Cabana that you did from the Whisper White.
-
Score each side of the Coastal Cabana at 1 inch.
Cut along the 1 inch line on the 7 3/4 inch side at both ends. Cut up to the perpendicular score line.
Cut a slight triangle out of the small 1 inch square flap so that when it is folded it will not stick out.
-
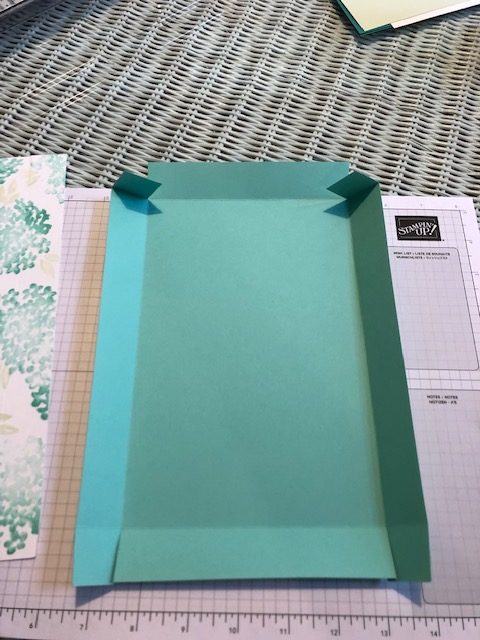
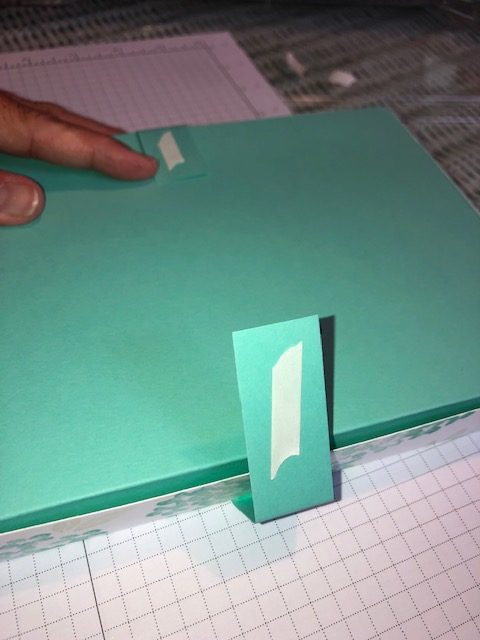
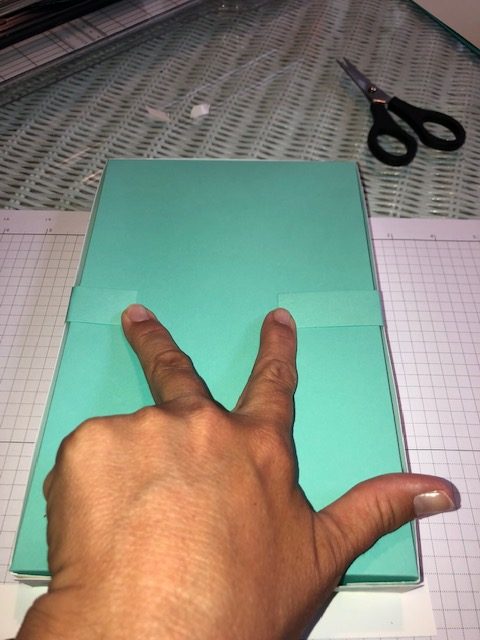
Place tear and tape on the right side of the small 1 inch squares.
Fold both the Whisper White and Coastal Cabana along the score lines.
Remove the lining on the Tear & Tape and adhere to create the box bottom and box top.
-
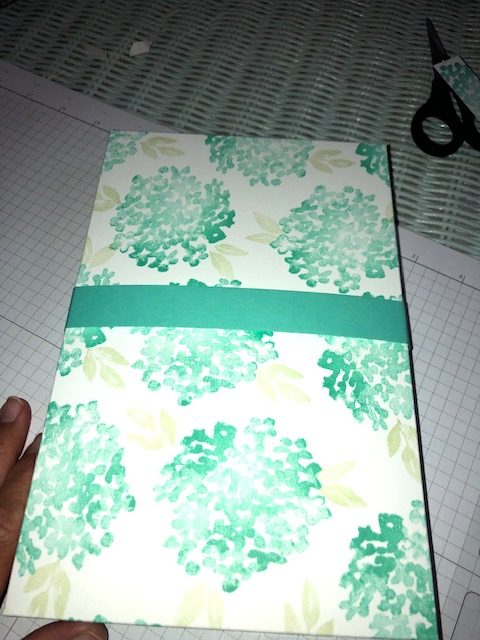
Use the two larger pieces of cardstock from the original Whisper White and Coastal Cabana to create the belly band.
Wrap the Coastal Cabana piece around the top of the box (the Whisper White stamped cardstock).
- Cut the Whisper White piece so that it goes from one side of the box to the other and use it to join the Coastal Cabana piece. Place a piece of Tear & Tape on each end of the Coastal Cabana and adhere the stamped Whisper White to it.
Here are the products I used to make this fun project:
Why not make a friend’s day by creating this handmade gift box and personalized stationery to fill it up?!?!
Jul 29, 2019 | Uncategorized
Personalized stationery is a wonderful gift to give. After more than two decades creating with stamps I’ve learned stamps don’t have to be used just to make cards. You can make many personalized gifts! Now when I say personalized I don’t mean it has to be hand stamped with your friend’s name but it can be custom designed to fit her or his personality and interests. A wonderful gift for a co-worker, a teacher, or really anyone is stationery and envelopes. It is quick and easy and makes a lovely gift. You can choose the paper you’d like to use depending on the type of gift you’d like to give. A nice present might warrant a heavier weight of paper. Or you might choose to simply use the computer paper you have on hand. That is what I chose to use to make this beautiful hydrangea stationery that I plan to give to a friend of mine. I would suggest creating at least 20 sheets to be included in a set if you are giving it as a gift.
Card Recipe:
Ingredients:
- 10 sheets of computer paper or other plain paper
- 20 envelopes
- Beautiful Friendship Stamp Set
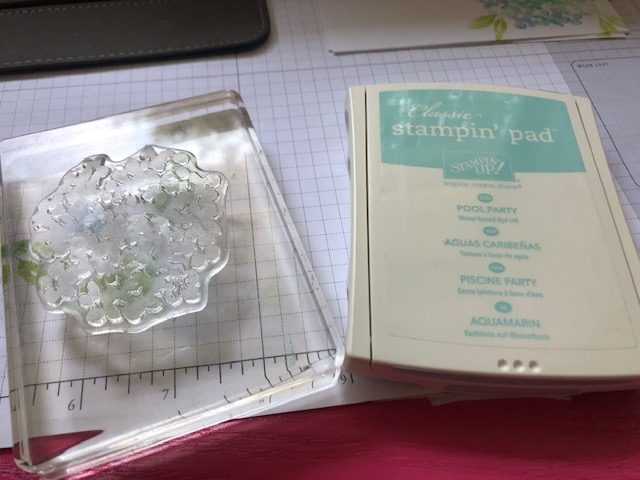
- Pool Party stamp pad
- Blueberry Bushel stamp pad
- Granny Apple Green stamp pad
- Sponge Dauber
Instructions:
-
Cut the paper in half at the 5 1/2 inch mark (holding the paper in landscape position).
-
Ink the Hydrangea image in Pool Party ink.
-
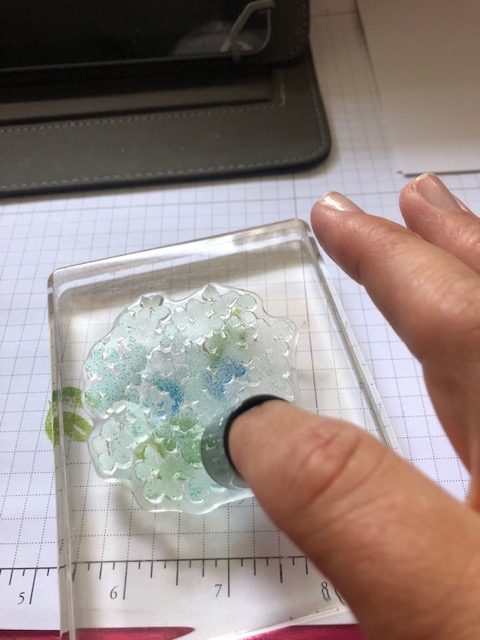
Take the sponge dauber and ink up in Blueberry Bushel.
-
Tap the dauber on the Hydrangea stamp.
-
Stamp the inked Hydrangea stamp in the bottom right hand corner of the paper.
-
Ink up the two leaf images from the set in Granny Apple Green and then stamp it on a scrap piece of paper. This is called Stamping Off and will take off the first layer of ink This technique allows you to stamp the same color in a slightly lighter shade.
-
Stamp the leaf images on the paper.
Now package the personalized stationery in a sweet box and give to your friend, co-worker, or teacher! Look for a future post showing a great box to make!
Product List
Product List
Jul 17, 2019 | Uncategorized
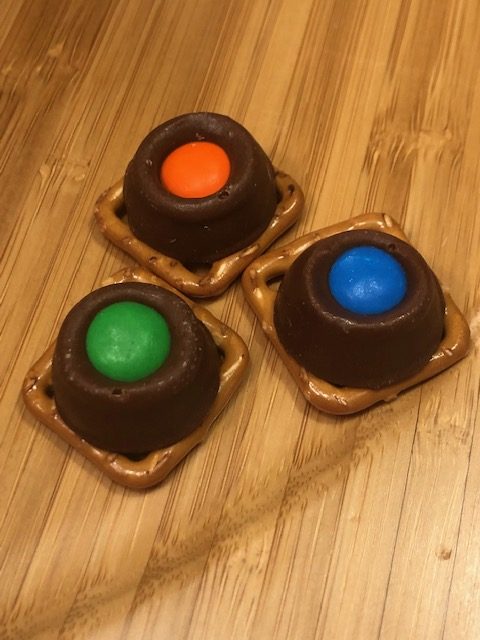
I just hosted a card class and I love to serve something yummy – easy desserts for a crowd can be fussy but not with these! I made a treat that I typically make at Christmas – reindeer noses! Now, I know it is the middle of the summer but these are the perfect quick-to-make, pop-in -our-mouth treats and to be honest, I had a craving for them! Several of the girls were just dying to have the recipe! So here it is!!!! I think this is going to be my signature dessert for a crowd from now on! Here is the recipe for these yummy Salty Sweet Pop-able treats!
Ingredients: Butter Snap square pretzels, bag of Rolos, and a bag of M&Ms. When I make these I typically get the large bag of Rolos because there have been known to be some Rolo thieves in my family! I usually have some of each item left over!
Instructions:
- Pre-heat the oven to 200 degrees
- While the oven is preheating, unwrap the Rolos (this is the most time consuming of the steps which is why I buy extra Rolos. I usually recruit my boys to help unwrap and their payment is to eat a few! Unfortunately, they also steal some!!
- Line a cookie sheet with parchment paper or a Silpat mat.
- Place the pretzels on the paper/mat.
- Place one Rolo on each pretzel. When each pretzel has a Rolo pop the pan in the oven. It will only take about 5 minutes or so. Keep an eye on the chocolate. When you notice the chocolate getting shiny, take the pan out. WARNING- if you leave it in too long the chocolate will allow the caramel to seep out. You just need them melted enough to press them down a bit!
- Pop an M & M on top of each Rolo and press down just a bit.
- Enjoy!
- Tip: I put the entire tray of completed treats right into the freezer. Once they are hard I put them in a zip top baggie. If they are in the freezer for more than a day they tend to get a white coating on the chocolate- they are still edible but just not as attractive. I typically make them earlier in the day on the day I’m serving them or the night before.
When these are served shortly after taking them out of the freezer there is no worry about getting chocolate on our projects! They make the perfect treat for card parties!
Here is a card we made while we enjoyed the Salty-Sweet Pop-able Treats! Check back soon for the card “recipe” and in meantime, go fire up your own batch of this favorite from my easy desserts for a crown lineup!