Have you seen Making It! with Amy Poehler and Nick Offerman? I love seeing all the things the contestants are creating and how they go about it! I love that mainstream media is highlighting something that I have always found value in, crafting! I truly believe that each of us has creativity in us. Often we don’t identify things are creative! You don’t have to be “crafty” to be creative. After all we are a reflection of God and He is the creator of all things! It is amazing to see how each of the crafters on the show use different materials and have different styles! Sometimes your style can be reflected differently in different media. Here are some things that I have created over the year.
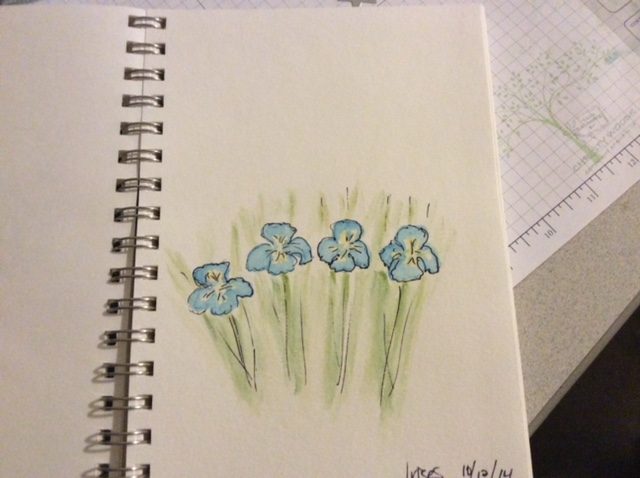
Watercolor crayons used to draw my favorite flower, the Iris.
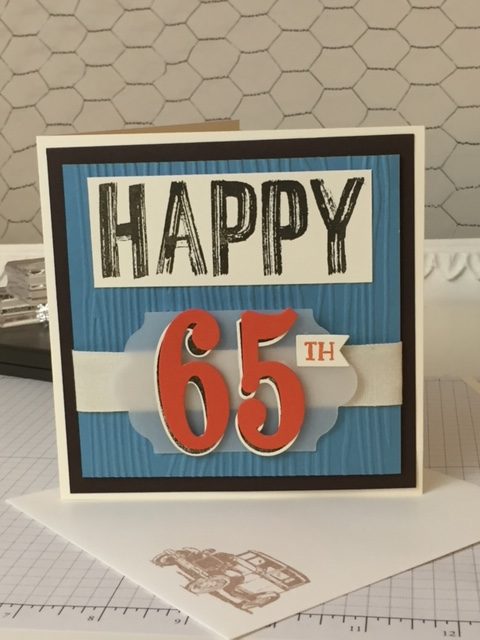
Happy Birthday card created for my Father-in-law!
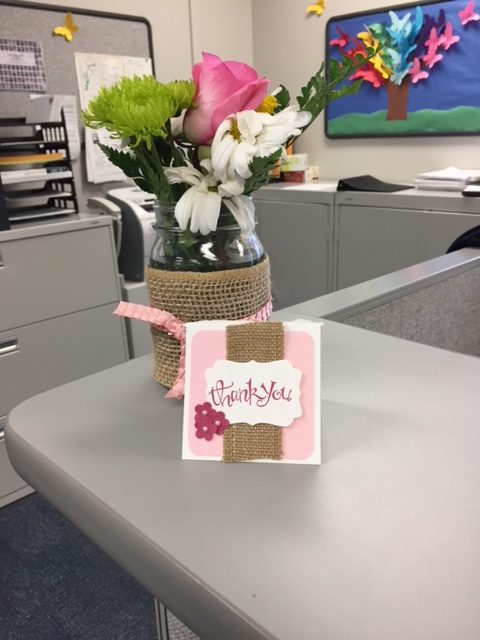
This little thank you gift was created to honor the secretaries at the school where I teach.
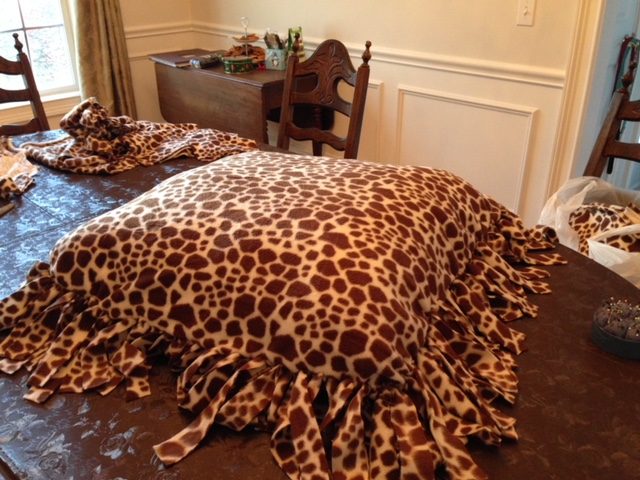
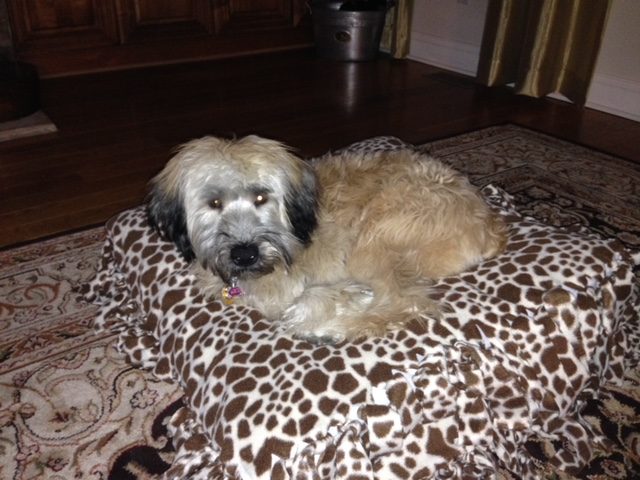
My kids love to sit on the floor so I created floor pillows. This was a simple no-sew project that used pillow forms and fleece. The two pieces of fleece were tied together.
Clearly the dog loves the pillows too!
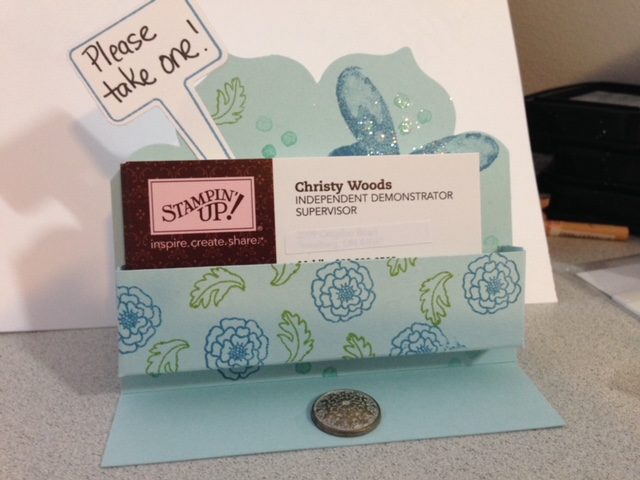
This was designed to hold my business cards. I would love to give credit to the person who designed the holder but I made it so long ago, I’ve forgotten.
What have you put your creative mind to making? Look back over the years and look at all you’ve created! Find some pictures and post them here!
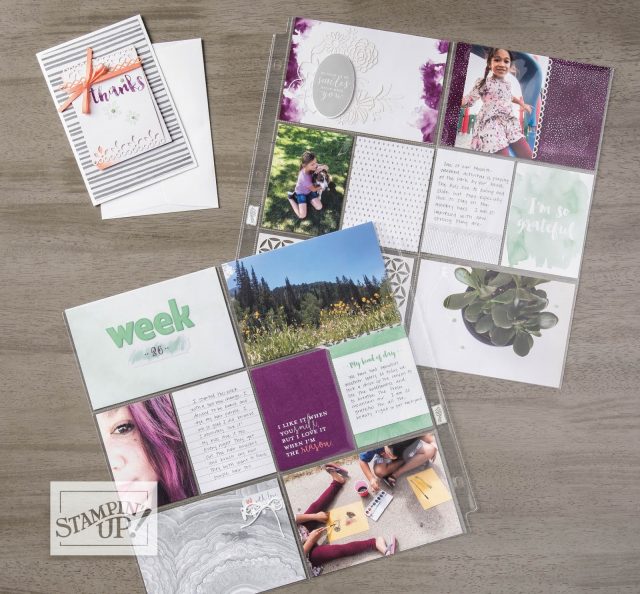
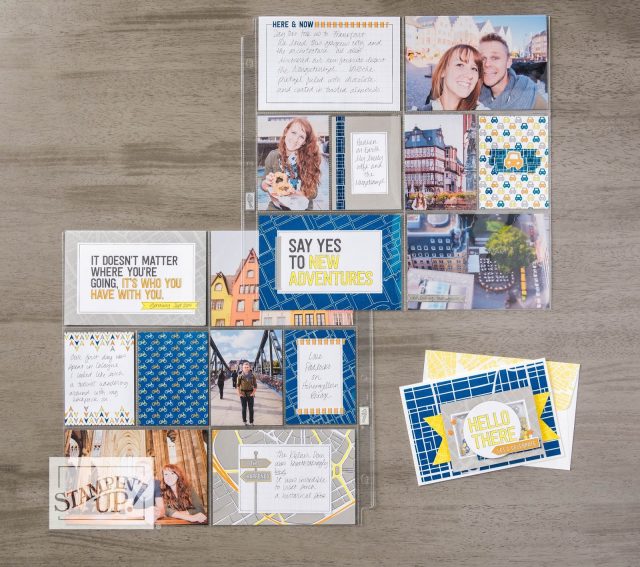
My favorite season (at least at the moment). In spring, it is spring! We are coming to the part of the summer when things are beginning to wind down and it makes me incredibly sad and a bit excited. I look forward to the back to school rush and getting to meet my new students and starting the school year! I LOVE to teach! But a big part of me doesn’t want summer to end! Throughout the summer I try to capture moments of the ordinary with photos as well as the special events while still being present in the moment! The beauty of capturing those images is being able to look back on them. I’m guessing if you are like most, you have a virtual “pile” of photos on your phone, downloaded onto your computer or sitting on your camera. Why not get them into an album? It really is easier than you think. Look at these pages: All you have to do is slip the photos in. No trimming if you don’t want to! If you want to write a note about what happened, have at it. If not, don’t bother and DON”T feel guilty about it!
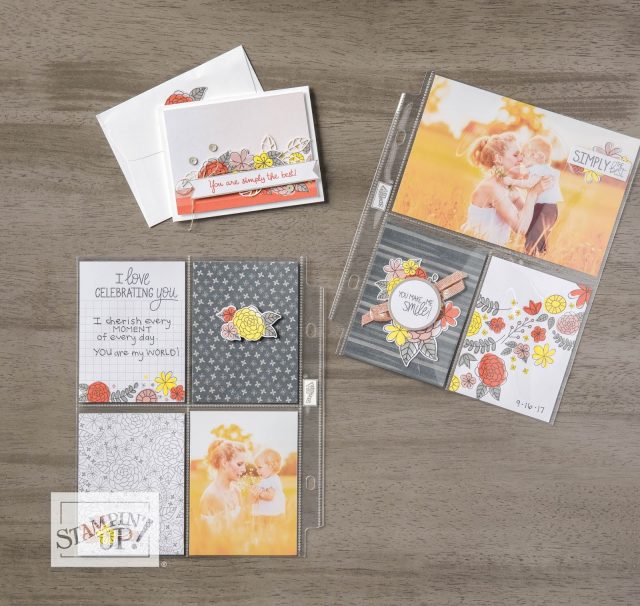
This uses Stampin’ Up!’s Memories & More Photo Pocket pages and the Delightfully Detailed Memories and More Card Pack (147038 $10)This pack includes 50 total double-sided cards (2 each of 25 designs) in 3″ x 4″ and 4″ x 6″ sizes; 6 single-sided laser-cut specialty cards in 3″ x 4″ and 4″x 6″; and 4 sticker sheets! The colors in this are beautiful and go very nicely with these outdoor photos. It adds a pop of color and texture to the scrapbook pages!
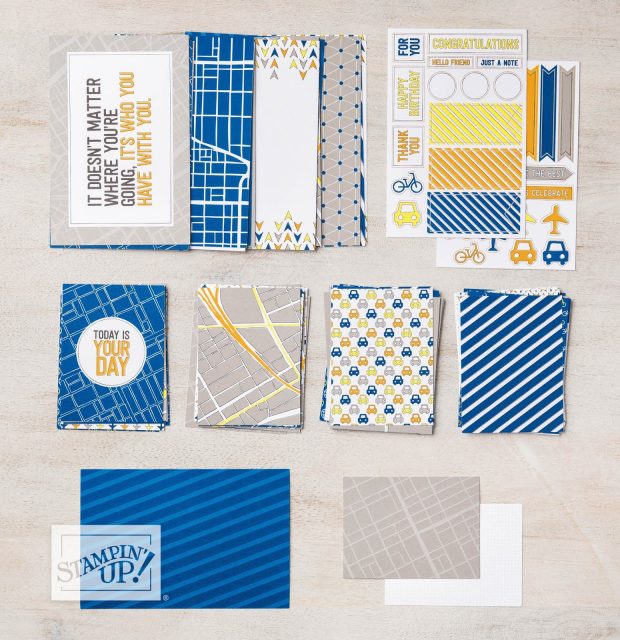
This is Stampin’ Up!’s Best Route Memories & More Card Pack (147036 $10). This pack includes 50 total double-sided cards (2 each of 25 designs) in 3″ x 4″ and 4″ x 6″ sizes; 6 single-sided lightly embossed specialty cards in 3″ x 4″ and 4″x 6″; and 4 sticker sheets! It has so much in it! It’s the perfect companion for your travel pictures! Or to simply accompany your adventures! These packs are great for slipping in the Photo Pockets or even creating cards to send to friends and family!
Big Plans Memories & More Card Pack(146863 $10 ) has a beautifully subtle color scheme that whispers sweet things to me. This pack includes 50 total double-sided cards (2 each of 25 designs) in 3″ x 4″ and 4″ x 6″ sizes; 6 single-sided silver foil specialty cards in 4″x 6″; and 4 sticker sheets!
Over the 35 or more years that I have been scrapbooking, the way I did it has changed in style and method! When I first began it was in the old sticky albums that we now know causes your pictures to fade and deteriorate! Those albums are filled with sayings created by some wonderfully brilliant ad copy writer that I cut out of a magazine and placed alongside photos of my friends and me! When my first son was born I discovered Creative Memories thanks to my girlfriend Bethany. Both boys’ baby albums were Creative Memories with the photos cut out in cute shapes and layered on printed paper. I was never very found of the way those albums went together. I usually miss a whole group of pictures and end up needing to add photos between the pages I already created and the threading used to assemble the albums made that very difficult.
When Stampin’ Up! came out with their scrapbooking line I fell in love! I have Stampin’ Up! scrabooking tools ever since! And as my forms of scrapbooking have changed, so have Stampin’ Up!’s. The tools now available are the easiest I’ve ever used! There really is no excuse for not slipping in the pictures into the album! It is even more meaningful to me as I watch my boys get older and prepare to head off to college in the next few years. I am going to want those albums to remind me of when they were little!
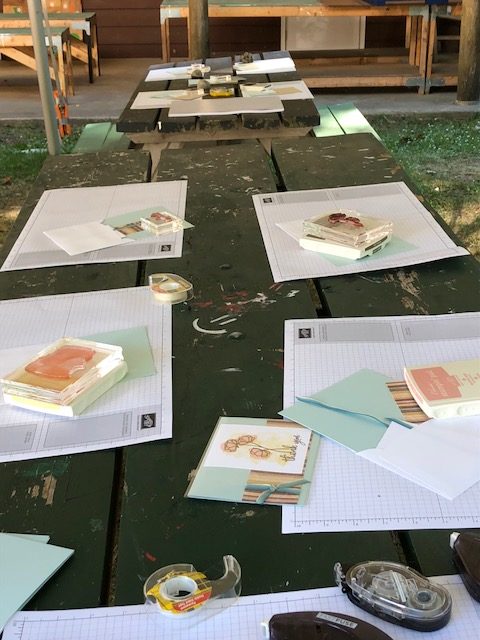
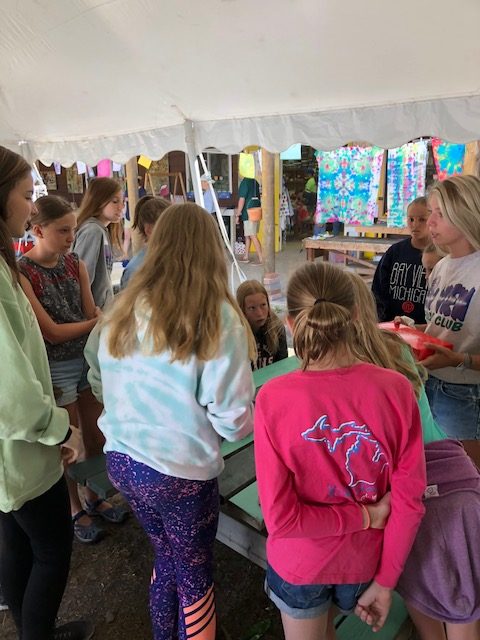
July 6th, the Friday after Independence Day was a day full of activity here in Northern Michigan where I spend 6 weeks out of my summer. This week, of all the weeks of summer, is the one with the most activity and family for the majority of the people in my summer community. If you’re only able to head Up North once during the summer, this is the week you’d do it. My kids grew up going to “Club” which is our version of camp. Each summer the Friday of the 4th of July week is Service Project day for the campers. My wonderful niece Emma is a co-leader of the girls 11-12 age group. For their service project they decided to create cards to donate to a local senior living center so that they could send them out to their loved ones. Emma asked if I would help her with this project. I jumped at the chance! It was so fun to see the girls really enjoying themselves while creating the cards they were giving to the center. Twenty-five cards were made by these wonderful 11 girls. Here are some pictures of the cards and the sweet girls who made them.
All set and ready to get started!
The girls getting instructions from Emma.
Dropping off the cards at American House Senior Living
The girls sending off their handmade cards with love.
We had so much fun doing this! I hope I get to stamp with these girls in the future. I designed the cards to be easy for all of them to create with little to no instruction. They were able to create their cards by looking at my examples and referencing my instruction sheet as needed. I walked around encouraging them helping those that needs some clarifications. I would say it was a great success! Give these cards templates a try! You can use any supplies you have on hand! They are super simple and easy to create!
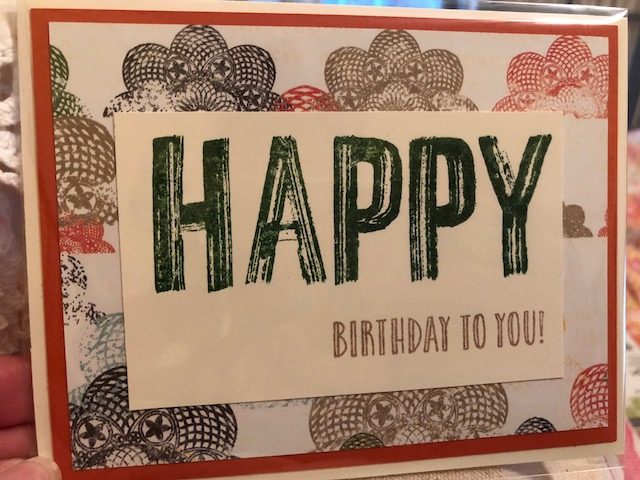
Happy Birthday Card Recipe:
Card base in Neutral 5 1/2 x 4 1/4
Solid Color Cardstock 5 1/4 x 4
DSP 5 x 3 3/4
Neutral Layer with Stamped Image: 4 x 2 1/2
You could use any sentiment or image stamp here.
This is a super easy card to create and the girls did a beautiful job on it. It had two sentiments stamped and allowed the images on the DSP to really shine.
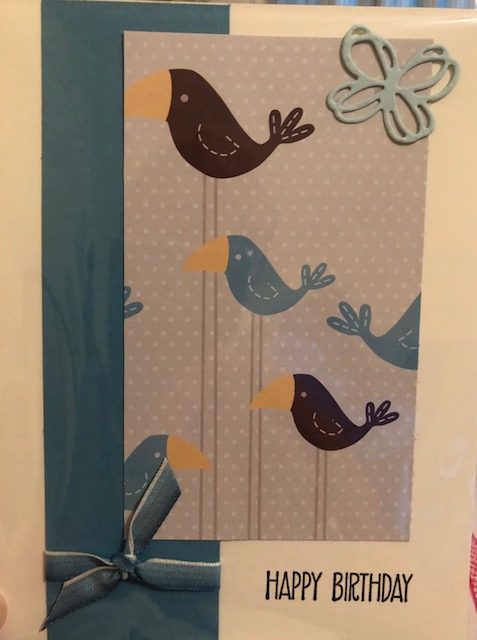
Bird Birthday Card Recipe:
Card base in Neutral 5 1/2 x 4 1/4
Solid Color Cardstock layer 5 1/2 x 2
DSP layer 4 x 2 1/2 (approximate) Depending on the image on your DSP you could adjust the size of this layer.
Ribbon cut to go short ways around the solid color cardstock layer.
Butterfly image die cut and adhered to card front.
Sentiment stamp set.
Again this was a quick and cute card to create. We were a bit short on time to create these cards so I did pre-cut the butterfly for everyone. The sentiment was stamped directly to the card base.
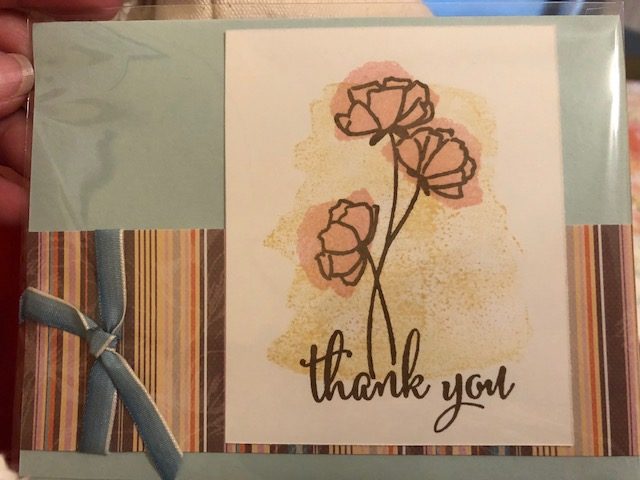
Thank You Card Recipe:
Card base is a light shade 5 1/2 x 4 1/4
DSP layer 2 x 5 1/2
Neutral layer for image 3 1/2 x 2 3/4
Sentiment and image stamp set
Ribbon to go around short side of the DSP
This card was much more challenging for the girls to create but they still did a wonderful job. The were 6 steps to stamp this card. If you wanted to make this card but have fewer steps you could cut out the background image and the interior color of the flowers but I do think those steps really do add to the beauty of the card.
Hope Card Recipe
Soft Solid Color Cardstock for the base 5 1/2 x 4 1/4
DSP 3 x 5 1/4
Neutral cardstock layer 3 x 3 1/2
Sentiment and image stamp set
While this card wasn’t as many steps to stamp as the last one, this one also was a bit more involved than the first two. The color of the images and sentiment on this card were chosen to coordinate with the DSP.
These are all cards that you could quickly make to send to a loved one. Why not pull out some of those supplies you have on hand and create a quick card or two. Even better why not make 5 of each design (since that is the hardest part) and donate 4 to a local Ronald McDonald house, retirement center or shelter. If you do, let me know by commenting here with pictures of what you made and where you donated the cards!
The content in this blog is the sole responsibility of Christy Woods as a Stampin' Up!® Independent Demonstrator. The use of and content of classes, services or products offered is not endorsed by Stampin' Up!