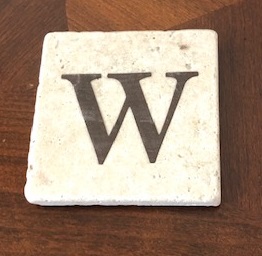
Welcome to 2019! The new year always brings with it the desire to change things in your life. New year, new beginnings, fresh starts and a year of possibilities ahead! There is one difference between my husband and me- well – in actuality there are more than a few differences. The one that comes to mind at this time of year has to do with pictures. I absolutely love pictures! I love taking them! I love scrap-booking them and even more than that, I love looking back at them. My husband on the other hand does not like looking at them. He is so very gracious, however, when I come home form my scrap-booking weekends, he patiently looks at all the work I put into preserving the memories we’ve created together. I think we both look at life similarly but from different perspectives. While I like to look back to remember how things were, I still live in the present. I feel it helps me to look to the future while enjoying the memories of the past. It helps me to be thankful for all the ways the Lord has blessed me. This year I’ve enjoyed a lot of great times with friends, growing closer to them. Taking time together to create gifts for our coworkers highlights how blessed I am to have these friends and to work with the wonderful people for whom we were creating the coasters. The coasters were a wonderful way to say to our administrators and secretaries how much we appreciate them during the holidays. We purchase stone tiles and adhered the last name initial to the top of the coaster to personalize them for each person. You could easily make these for yourself or as a gift for others.
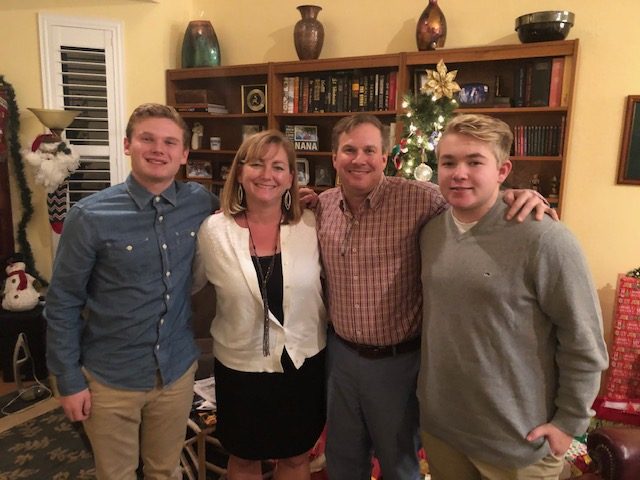
My girlfriends and me making holiday gifts for coworkers.
Items to purchase:
4 x 4 stone tiles
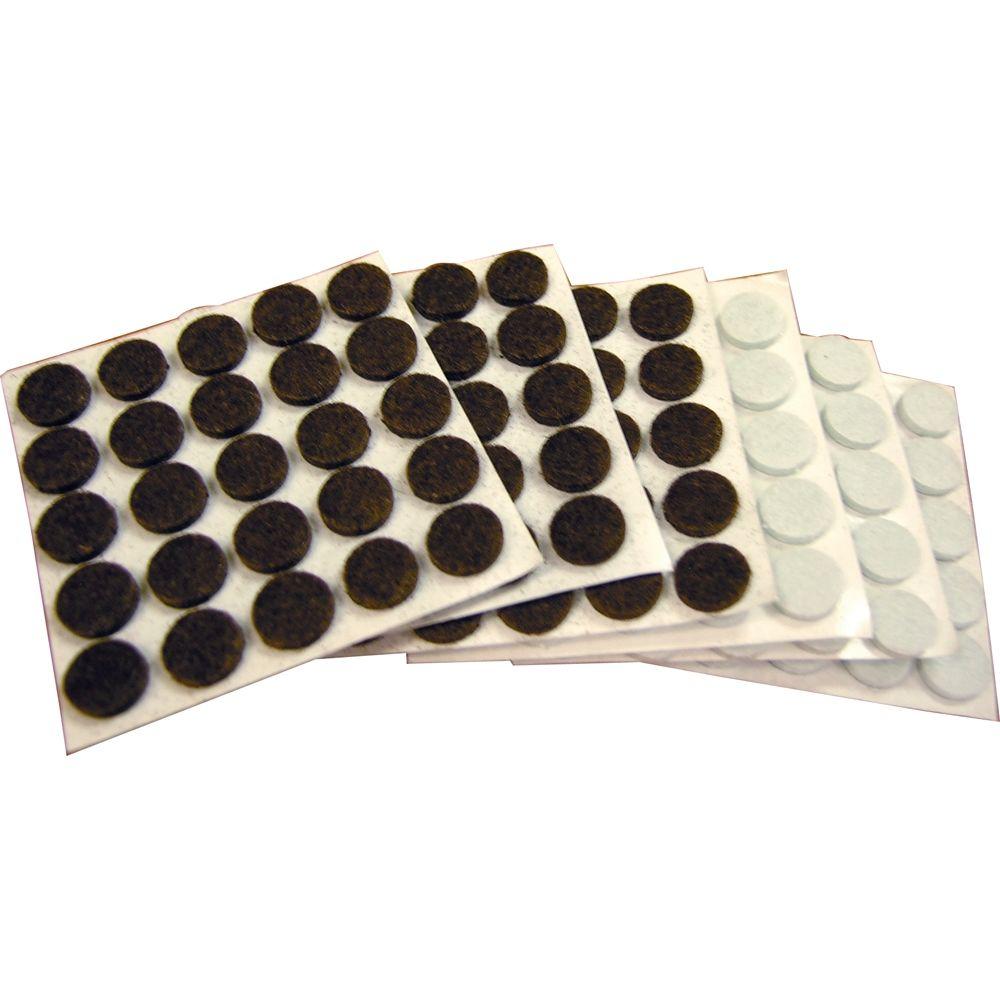
Self-adhesive felt pads (allow for 4 pads for each coaster)
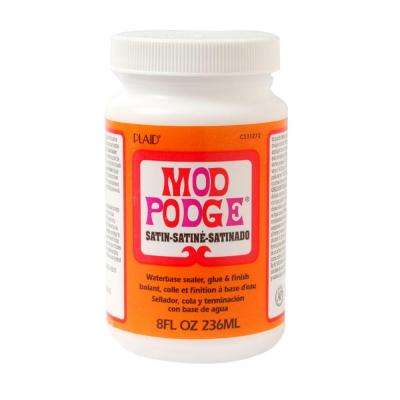
Modge Podge (You can choose to use matte, satin, or glossy finish.)
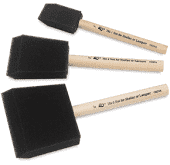
foam paint brush
Items you may have on hand:
Big Shot die cut machine
Large Letters Framelits dies
Colored cardstock or Designer Series Paper
Step 1: Take your stone tile and wipe the tiles off as they tend to have dust on them. Set these aside.
Step 2: Die cut the image you’d like to adhere to the tiles. For our project we did the last name initial of the person for whom we made them. If you are making a set of coasters, cut all the images you are going to use.
Step 3: Adhere 4 felt pads to the back of each coaster.
Step 4: Place your die cut image on the tile where you would like it. Dip your brush into the Modge Podge and paint the glue onto the tile covering then entire top of the tile.
Step 5: Let the tile dry and then apply a second coat. Let dry again and you are done!
As you take time to make gifts for others throughout the coming year think about how blessed you are to have those people in your life. My resolution for this year is to look for ways to let others know what a blessing they are to me each day not just during the holidays!
Saying goodbye is a very difficult thing to do. I find myself in tears when I have to leave a loved one. Parting and not knowing when I will see my family or friends again leaves me melancholy. Sometimes I feel silly being so sad but the times I spend with family is so important to me. The year is full of times I have to say goodbye. When my extended family gathers together for Thanksgiving we have such a fun time talking about old times and loved ones that have passed, sharing stories of things that have happened over the year and musing about how big the kids have gotten! Playing games and sharing meals brings such joy – simply spending time with each other! Enjoying Christmases shared around the tree giving presents and laughing about the White Elephant items people are fighting over always leaves me wanting to spend more time together. The joy found in connecting with loved ones is something everyone needs but those good times make leaving more difficult! While saying goodbye to friends and family is the hardest, saying goodbye to other favorites are also difficult!
If you’ve been a customer of Stampin’ Up! for a significant time, you know that goodbyes are a part of business. About every four months we say goodbye to the fun products in a seasonal catalog with the hopes they will reappear in the new annual catalog. Each May we say goodbye to stamp sets, ribbons, Designer Series Paper, punches, and dies that we have loved all year. There are always those ribbons and papers that I have a hard time saying goodbye to when May closes it’s door. This year one of the hardest goodbyes was to some of my favorite colors. Stampin’ Up! introduced their Color Revamp in the Annual Catalog. Some of my very favorite colors were retired in May. Wild Wasabi, Temping Turquoise, Marina Mist, and Always Artichoke have been some of my favorites for years! Wild Wasabi has been a go-to color of mine and I’m going to have to take time to find it’s replacement!
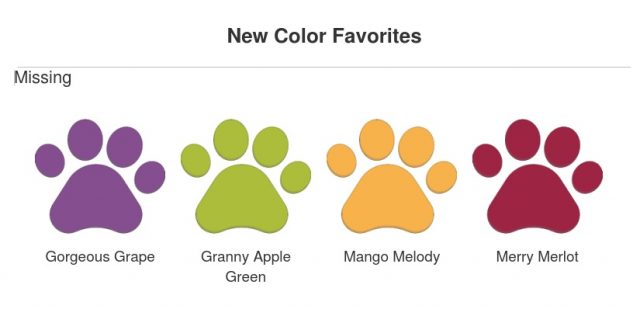
As hard as it is to say goodbye, it is exciting to welcome new items when the Annual Catalog comes out in June. So, while I had to say goodbye to these favorites, it opens the door to find new go-to colors that might just become favorites! Here are the colors I’ve been drawn to:
Give the new colors a shot! Another thing to give a shot is our new Cling Stamps! Gone are the days of the red rubber Stampin’ Up! stamps not staying in place on the clear blocks. The Stampin’ Up! home office has completely revamped the red rubber cling sheets. Now they don’t move at all! You will notice going forward in the new catalogs there will no longer be “clear mount” stamp sets – only Cling Stamps! Check out this video :
I know I can’t wait to give them a try! While I love our Photopolymer stamps, there is just something about the wonderful red rubber of Stampin’ Up! stamps!
My New Year’s wish for you is for heath and happiness and that you’ll find something new to love in the midst of saying goodbye to something you love! Just around the corner (literally this week) is SALE-A-BRATION and the Occasions Catalog! I know there will be something there for you to love! Contact me to find it!
I am often asked by my customers for a recommendation about which stamp set they should purchase. Sunshine Sayings is one of those sets that I often recommend because of it’s versatility. This set can be used for so many different occasions. I’ve used it for masculine birthdays, feminine birthdays, wedding cards, anniversary cards, sympathy cards and so much more. When looking for a stamp set that you will be able to use often here are the things you should look for in a stamp set:
images as well as sentiments
images that can be used to for different types of cards. Think about different ways you could use the image that may not be the way the image was intended to be used.)
sentiments that could be used for 3 or more occasions. Think about using only parts of phrases. You can always use markers to add ink to the stamp and not ink up words you don’t want. For example, in with the Sunshine Sayings words you could ink up the YOU ARE from the YOU ARE MY stamp and the WONDERFUL from the OF WONDERFUL stamp to say YOU ARE WONDERFUL.
I hope you enjoyed those cards! Right now I am offering two kits to help you get a hold of this wonderfully versatile stamp set; a level 1 kit and a level 2 kit. If you purchase either one of these kits, I will email you the link to another video featuring two more cards using this stamp set. This video is exclusive to those who have purchased one of the two kits. In addition, if you purchase a kit by September 30th you will receive an exclusive bonus video.
Contact me to place your order or simply click here to go to my online store.
Sunshine Sayings is a wonderful stamp set for all your card making needs!
First, choose the Level Kit you would like and then simply include all of the items in that kit on your order to receive a free video!
Level 1 Kit
Sunshine Sayings Stamp Set
Wood-mount 141591 $31.00
OR
Clear-mount 141594 $23.00
Cardstock
Broadway Bound Cardstock pack146278 $8.50
Accessories
Clear Rhinestones 144220 $5.00
Pick A Pattern Washi Tape 144166 $8.00
Ink
Lucky Lime Twist 147145 $7.50
Berry Burst 147144 $7.50
Total Cost of Kit before tax and S&H:Wood-mount $67.50
The content in this blog is the sole responsibility of Christy Woods as a Stampin' Up!® Independent Demonstrator. The use of and content of classes, services or products offered is not endorsed by Stampin' Up!

 4 x 4 stone tiles