 |
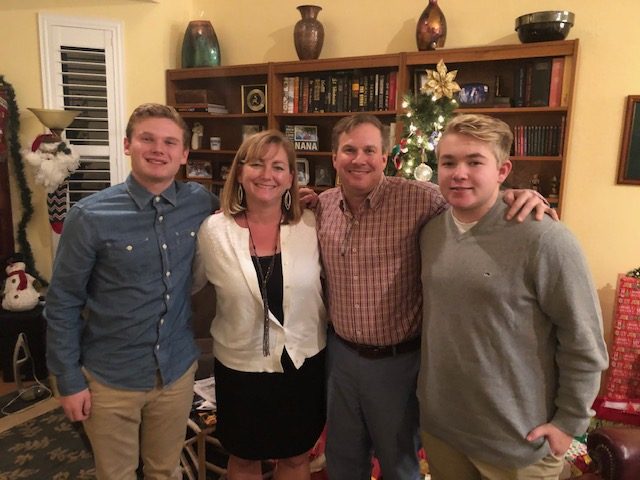
| My family Christmas Eve 2018 |
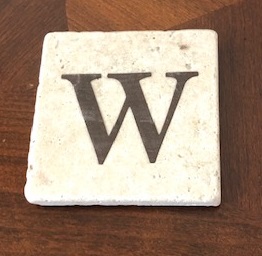
Welcome to 2019! The new year always brings with it the desire to change things in your life. New year, new beginnings, fresh starts and a year of possibilities ahead! There is one difference between my husband and me- well – in actuality there are more than a few differences. The one that comes to mind at this time of year has to do with pictures. I absolutely love pictures! I love taking them! I love scrap-booking them and even more than that, I love looking back at them. My husband on the other hand does not like looking at them. He is so very gracious, however, when I come home form my scrap-booking weekends, he patiently looks at all the work I put into preserving the memories we’ve created together. I think we both look at life similarly but from different perspectives. While I like to look back to remember how things were, I still live in the present. I feel it helps me to look to the future while enjoying the memories of the past. It helps me to be thankful for all the ways the Lord has blessed me. This year I’ve enjoyed a lot of great times with friends, growing closer to them. Taking time together to create gifts for our coworkers highlights how blessed I am to have these friends and to work with the wonderful people for whom we were creating the coasters. The coasters were a wonderful way to say to our administrators and secretaries how much we appreciate them during the holidays. We purchase stone tiles and adhered the last name initial to the top of the coaster to personalize them for each person. You could easily make these for yourself or as a gift for others.
 |
| My girlfriends and me making holiday gifts for coworkers. |
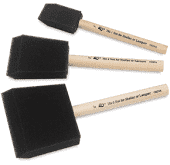
Items to purchase:
 4 x 4 stone tiles
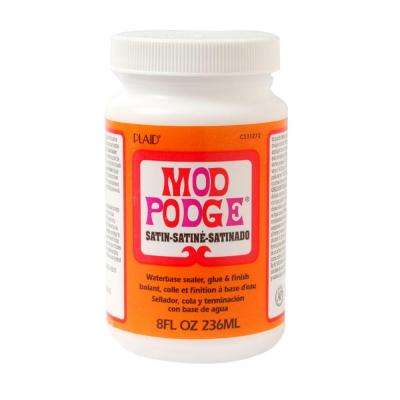
Step 1: Take your stone tile and wipe the tiles off as they tend to have dust on them. Set these aside.